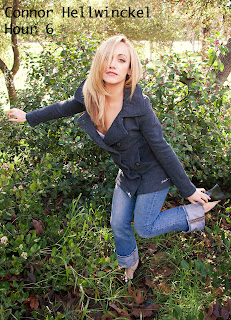
Final Image |
Sunday, September 16, 2018
Photoshop Challenge 1
Thursday, September 6, 2018
Photoshop Lessons

Content Aware Fill

Clone Stamp and Healing Brush
Spot Healing Brush
Reflection
The assignment I was tasked with was to watch a series of tutorials and replicate what the guy does in the video in Photoshop. The process of creating the Photoshop images started with watching the tutorial on how to use the content aware fill feature. Then, I used content aware fill on 4 images. I had to get rid of random things in the background for 2 of them. For the surfboard images, for one of them I had to get rid of the logo and for the second one, I had to move the logo higher on the surfboard.Then, I had to use clone stamp and the healing brush to remove a tag from clothes. In another image, I had to remove a pole from the background. The clone stamp duplicates parts of an image and blends it in somewhere else. The healing tool can help match the textures of an area with the texture of somewhere else. Next, I used the spot healing brush to remove the blemishes from a kid's face. I also blurred areas that the spot healing brush didn't work on. The spot healing brush is a very simple version of the healing brush. Lastly, I learned the patch tool. It's a very useful tool for blending. In the tutorial, I had to remove a graphic off of a T-Shirt to make it look like a plain blue T-Shirt.
For the last tutorial, I was required to use all the tools I had learned along with some other new tricks to build a portrait collage. I had to remove tree branches from the background and replace it with sky, which was easy because luckily the background was blurred. I had to use content aware scale to stretch out the background to the middle image. For the middle image, I had to use a mask to remove the background and clean up some areas.
For me, the first 5 tutorials were quite straight-forward and easy. The portrait collage caused me to struggle a lot, but I learned a lot in the process. The only tool I already knew how to use from the tutorials was the clone stamp tool, so I learned how to use a lot more tools to my advantage. I also learned how to use masks properly, which is something I didn't even know how to use beforehand. I can apply all the knowledge I've learned to future projects to make my graphics more convincing and pleasing to look at.
Subscribe to:
Posts (Atom)


